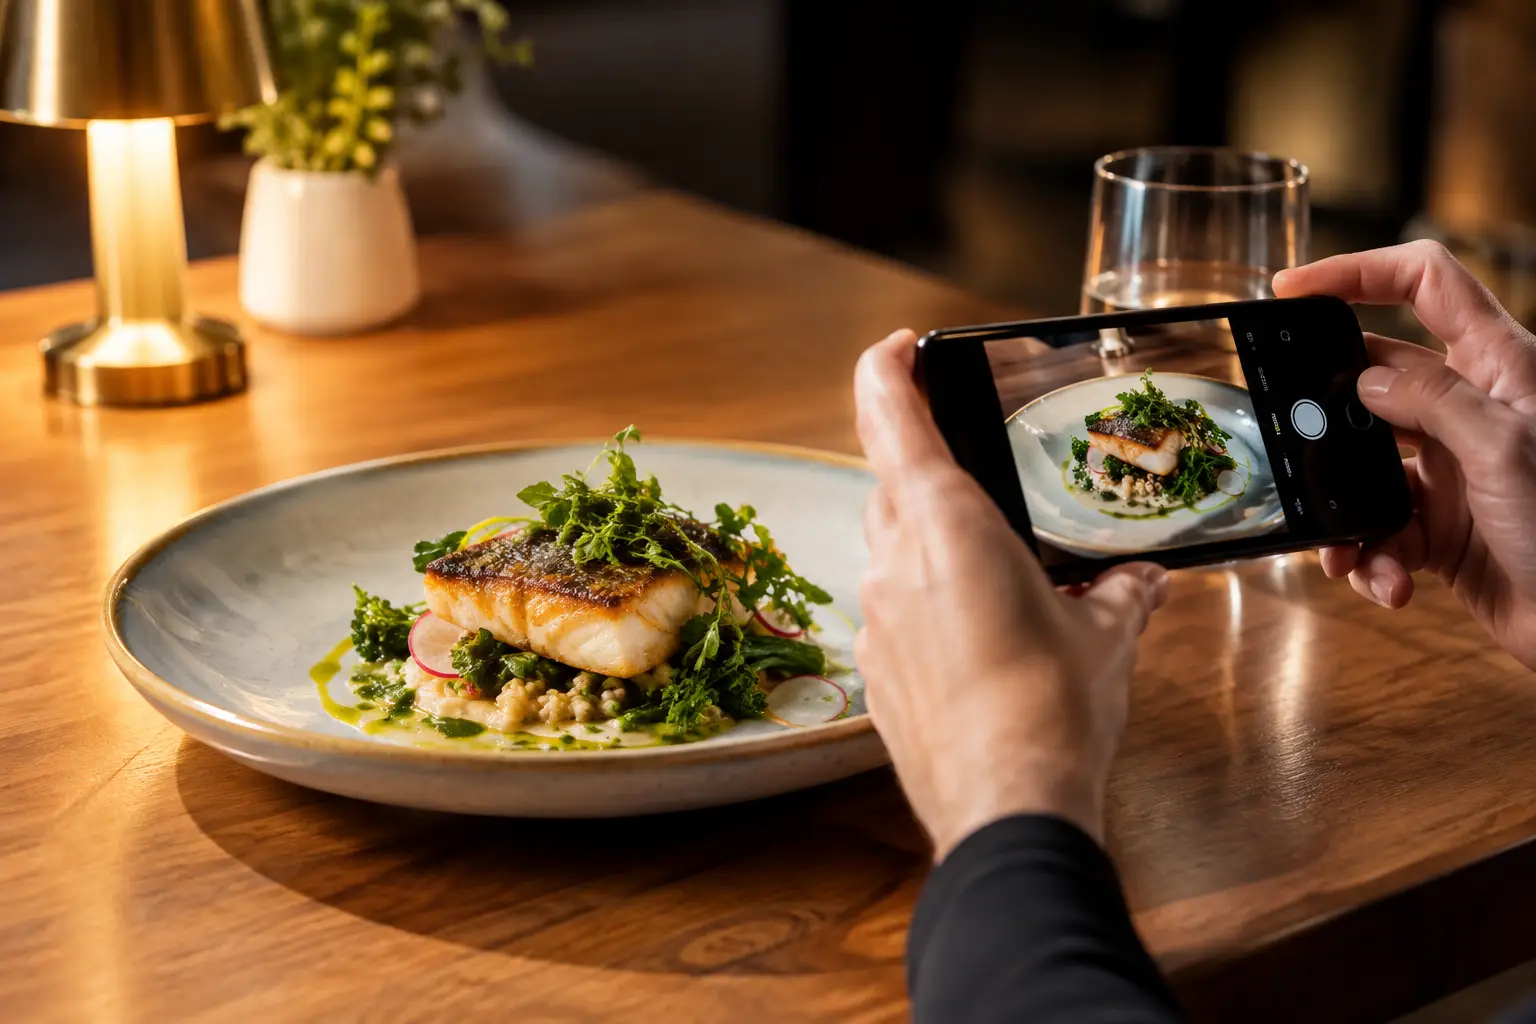
A dim booth, a bright window, a plate with steam rising off it – restaurant lighting can make even a great meal hard to photograph. But when you capture dishes under restaurant lighting with care, you do more than post a nice food photo. You give the next diner a clearer, more confident way to decide what to order.
That matters when someone is spending their money, managing a food preference, navigating decision fatigue, or relying on visuals to understand a menu. A useful dish photo should feel honest. It should show the real portion, color, texture, toppings, and presentation someone can reasonably expect.
Why Restaurant Food Photos Need to Be Real
Restaurant menus often ask diners to make a leap. A few words like “crispy chicken,” “house pasta,” or “loaded fries” can mean very different things from one kitchen to another. Is the sauce creamy or thin? Is the burger stacked tall or served small? Are the fries seasoned, covered, or on the side?
Photos answer questions that descriptions leave open. They can reduce uncertainty before an order is placed, especially for people with visual impairments or anyone who finds a long menu overwhelming. The goal is not to make every plate look like a magazine cover. The goal is to make it recognizable.
That means a slightly imperfect photo can still be valuable. A sharp, honest image of a dish in its real restaurant setting is often more helpful than a heavily edited image that changes the food’s color, size, or ingredients.
Start With the Best Light You Already Have
You do not need a studio setup at the table. Start by noticing where the light is coming from. Window light is usually the easiest option because it shows food colors more naturally than many overhead fixtures. If you are seated near a window, turn the plate so the light falls across the food from the side rather than directly behind it.
Side lighting helps show texture: the crisp edges of fried food, the gloss of a sauce, the layers in a sandwich, and the shape of a dessert. If the window is behind the plate, the food may become a dark silhouette. Move your position, rotate the plate if appropriate, or shoot from a slight angle to bring more light onto the dish.
At night, most restaurants use warm bulbs, pendant lamps, candles, or low overhead lighting to create atmosphere. That atmosphere is great for dinner. It is tougher for a camera. Instead of fighting it with an aggressive flash, look for the brightest nearby source, such as a table lamp, wall light, or illuminated menu area. A small shift in where you hold your phone can make a noticeable difference.
Skip the Flash and Stabilize Your Phone
Direct phone flash is rarely kind to food. It can create harsh shadows, shiny spots on sauces, and a flat look that hides the dish’s texture. It can also be distracting to other diners. In most cases, turn flash off.
Low light creates another problem: blur. Your phone slows its shutter speed when the scene is dark, so even a tiny movement can soften the image. Hold your elbows close to your body, use both hands, and pause for a second after tapping the shutter. If possible, rest your phone or forearm on the table without blocking anyone’s meal.
Taking a few frames is smarter than assuming the first one worked. Capture one photo, check whether the food looks sharp, then make a small adjustment. You may only need to move your phone a few inches closer to the light or lower your angle slightly.
Choose an Angle That Shows the Dish Clearly
The best angle depends on what is on the plate. A flat dish, such as pizza, nachos, salad, pancakes, or a grain bowl, often looks clearest from directly above. This view makes ingredients and portion size easier to see.
For taller dishes, a lower angle usually tells a better story. Burgers, sandwiches, stacked pancakes, layered cakes, and drinks benefit from a three-quarter view, with the phone held slightly above the plate and pointed downward. It shows height, layers, fillings, and the overall build without making the food look distorted.
Try not to shoot so close that the viewer cannot tell what they are looking at. One detail shot can be fun, but a helpful menu photo needs context. Include the full dish, or at least enough of it to understand the serving size and presentation. If the entrée comes with sides, make sure they are visible too.
Make the Plate the Main Character
A quick frame check goes a long way. Clear away napkins, receipts, extra silverware, and sauce packets if they distract from the food. You do not need to rearrange the restaurant table into a photo set. Just make it easier to see the dish.
Keep the composition simple. Centering works well for most food photos, especially when the image will help someone identify a menu item quickly. If you want a more natural feel, place the plate slightly off-center and leave enough space around it that the edges are not cut off.
Be mindful of other people’s privacy. A photo of your meal should not accidentally become a close-up of another diner. Avoid including faces, children, private conversations on screens, or identifying details from nearby tables.
Edit for Accuracy, Not Perfection
Restaurant lighting can make white plates look yellow, greens look dull, and red sauces look almost brown. A small edit can bring the image closer to what you saw in person. Increase brightness a little, lift shadows if the dish is too dark, and adjust warmth if the photo has an intense orange cast.
The key word is little. Too much saturation can turn ordinary food neon. Heavy smoothing can erase texture. Strong filters can make a dish look better than it actually arrived, which defeats the reason people rely on real customer photos.
Before sharing, ask a simple question: would someone recognize this dish if it arrived at their table? If the answer is yes, the photo is doing its job. If it looks dramatically brighter, bigger, or more colorful than the real meal, scale the edits back.
Capture What the Menu Description Cannot
The most useful photos reveal details diners often want to know before ordering. Show whether a sandwich is cut in half, whether a salad is heavily dressed, whether a pasta portion fills a shallow bowl, or whether the “spicy” garnish is a few peppers or a generous layer of chili oil.
If a dish has a surprising element, include it naturally. Maybe the tacos are served with consommé, the ramen arrives with a separate topping tray, or the dessert is much larger than expected. These details help people make decisions that fit their appetite, budget, and comfort level.
It also helps to photograph the dish as served, before everyone has started eating. That does not mean you need to delay the table or let hot food go cold. A 10-second pause is usually enough. Take the clearest shot you can, then enjoy your meal.
When the Lighting Is Truly Too Dark
Sometimes there is no good angle, no nearby lamp, and no amount of steady hands will produce a clear image. That is okay. A dim, grainy photo may still be useful if the dish is identifiable, but do not feel pressured to force it.
If you can, photograph the plate closer to a brighter area after asking your dining companions if they are ready. Another option is to capture a wider view that shows the full plate rather than a dark close-up that hides the ingredients. Accuracy matters more than visual drama.
For community-powered platforms like Pic-ture That!™, every clear contribution helps make restaurant menus easier to understand. Your photo may be the image that helps someone avoid an expensive disappointment, choose a meal with more confidence, or simply spend less energy guessing.
The next time your food arrives, take a moment before the first bite. Find the light, hold steady, show the full dish, and keep it real. A clear photo can make the dining experience more transparent for the person who orders after you.
Leave a Reply